

![]()
Permit - No Permit is required on this snow trip into Tahoe National Forest. Overnight parking is limited to the Donner Summit SnoPark. Annual SnoPark permits are currently $25 and daily permits are $5. You can pick up a permit at the Ace Hardware in Truckee or plan ahead and order one online. If you plan on spending the night at Peter Grub Hut you must reserve ahead of time by calling 530-426-3632 ($20 per person per night). Weekends are booked up way in advance.
Mileage - Peter Grub Hut is less than 3 miles from the Donner Summit SnoPark (if you follow the correct route). If you are prepared to snow camp (and you should be on this type of trip) you can camp anywhere you think skiers will not run into you.
Camps/Water - So, you can do a traditional snow trip or you can hike to Peter Grub Hut and spend the night there (not luxurious, but damn nice for snow camping). The hut has solar lighting, wood burning stove (and wood), sleeping loft, outhouse and tables/kitchen. There is no running water, so you will have to be prepared to melt snow. We were not able to boil water on the wood burning stove (had a flue issue that we repaired too late), so we used our own stove for boiling water.
Hazards - Cold temperatures, avalanches, and getting lost are your biggest concerns (not in that order). Snow camping is not something to be taken lightly. Go with a club or experienced people until you are very comfortable out in the snow. Nearest Ranger # 530-587-3558.
 So,
Leo and I decided it was about time to do another snow trip. We wanted
to try out a new spot, and I had heard about the hike out to Peter Grub
Hut recently and thought this would be a good time to try it out. We
decided to pack our normal snow gear setup as the backup to the hut.
We figured it would allow us to go and sleep in the snow should the
hut be crowded, and also give us the option to do less mileage if we
found an especially cool spot along the way to camp. You never want
to find yourself unprepared in the snow, it is very unforgiving out
there. For a more traditional snow trip see this
one to the Loch Leven area. I was able to secure a spot for us in the
hut on a Sunday night. I was told that most weekends are booked out
far in advance. They only allow 15 reservations per night, and I imagine
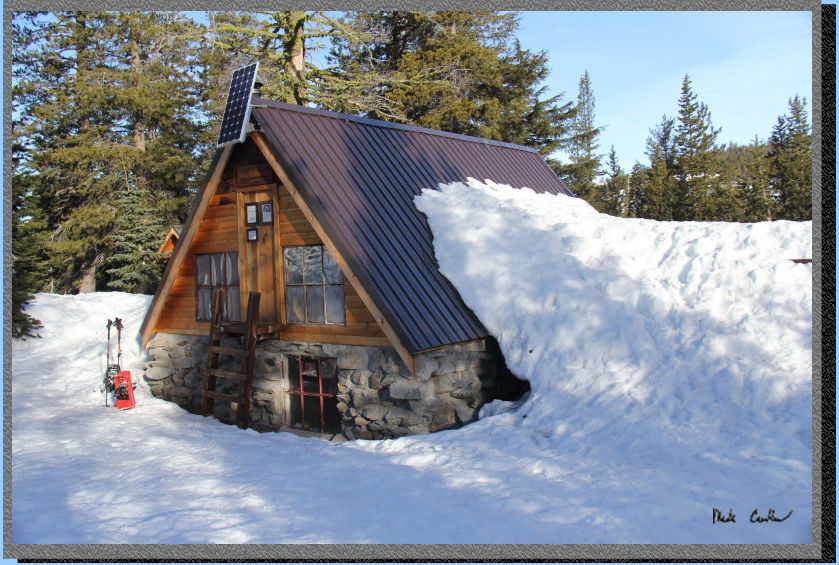
that with 15 people the cabin would feel pretty full. Here is the hut
on the morning on day 2. I guess you know we make it now, that takes
some of the suspense away of the trip description below. We did not
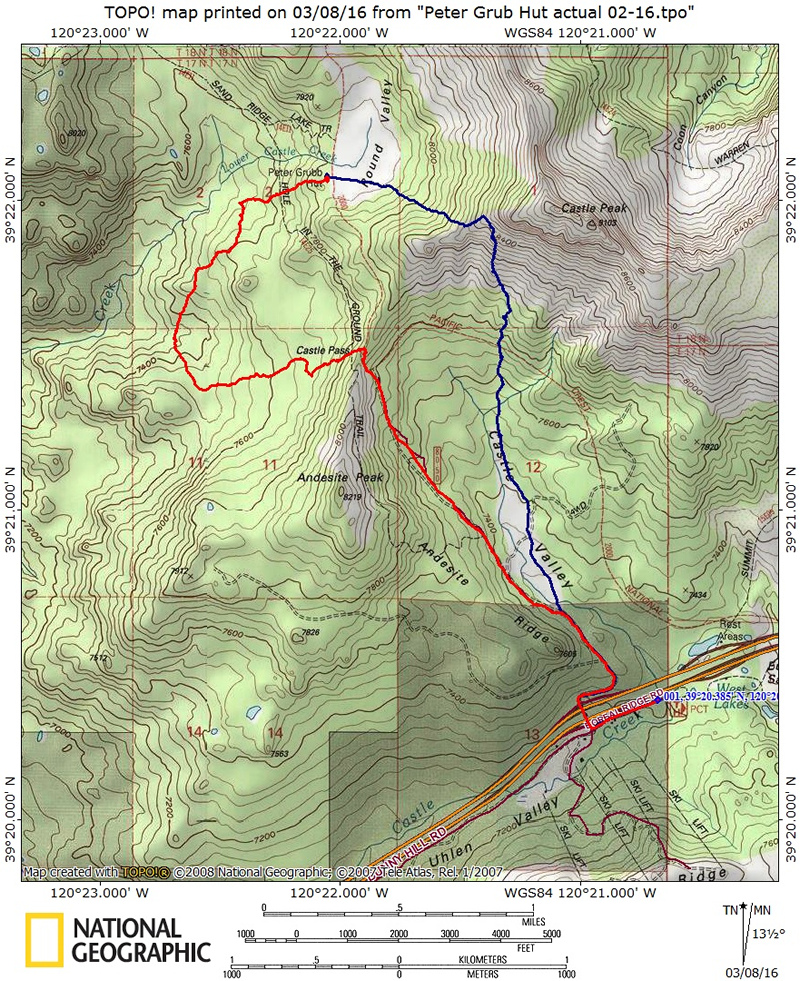
follow the normal route to the Peter Grub Hut. I would not recommend
that anyone follow the path we took (blue line on the second map
below). The hike we took on the way out is circuitous but not dangerous.
So,
Leo and I decided it was about time to do another snow trip. We wanted
to try out a new spot, and I had heard about the hike out to Peter Grub
Hut recently and thought this would be a good time to try it out. We
decided to pack our normal snow gear setup as the backup to the hut.
We figured it would allow us to go and sleep in the snow should the
hut be crowded, and also give us the option to do less mileage if we
found an especially cool spot along the way to camp. You never want
to find yourself unprepared in the snow, it is very unforgiving out
there. For a more traditional snow trip see this
one to the Loch Leven area. I was able to secure a spot for us in the
hut on a Sunday night. I was told that most weekends are booked out
far in advance. They only allow 15 reservations per night, and I imagine
that with 15 people the cabin would feel pretty full. Here is the hut
on the morning on day 2. I guess you know we make it now, that takes
some of the suspense away of the trip description below. We did not
follow the normal route to the Peter Grub Hut. I would not recommend
that anyone follow the path we took (blue line on the second map
below). The hike we took on the way out is circuitous but not dangerous.
Here is parking
at the Donner SnoPark. To get here head east on I-80 until you see exit
176 for Boreal Ridge Road/Castle Peak. Take the road on the south side
of the highway east past the Boreal Inn and park in the marked SnoPark
area along the roadway. There is no real overflow parking options, so
if you are wanting to camp here I would get here in the morning. The
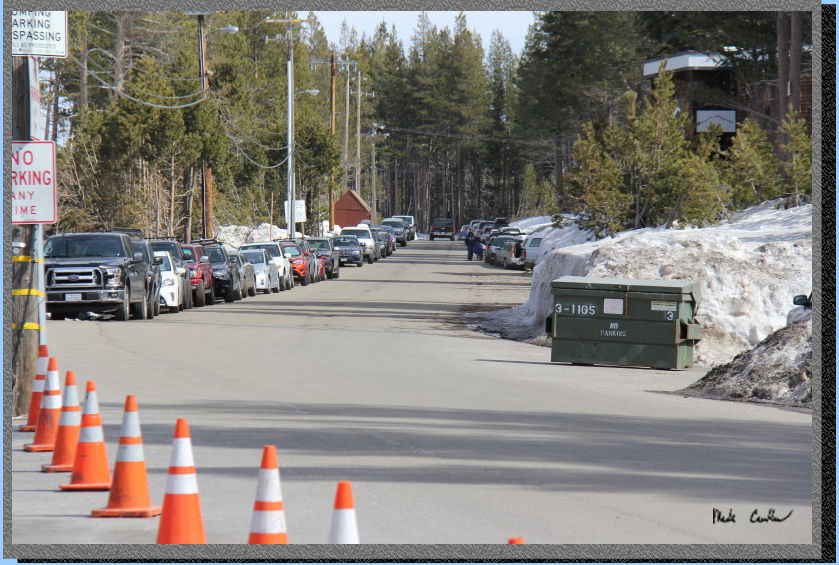
brown building in the Boreal Inn and you must park east of the Inn (unless
you are visiting Boreal Ski Resort). There is a decent amount of on-street
parking, the shot below makes it look like there is not as much parking
as there really is. I also think you may be able to park in portions
of the trailhead lot further to the east along this road. I did not
drive far enough east to confirm that though, it may not be plowed.
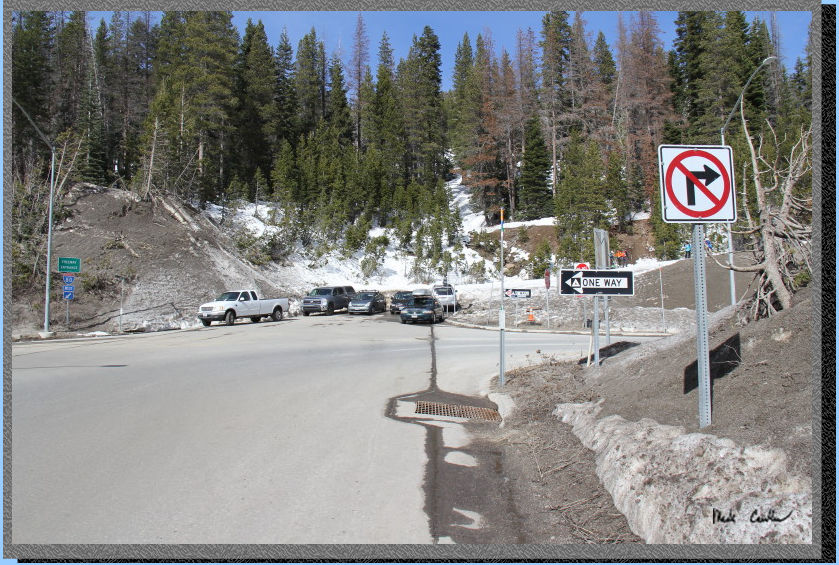
You will hike back to the
freeway (the way you came in by car) and then under the freeway to the
north side. You can see the trail starts where the cars are parked in
the image below. You are NOT supposed to park here. This is actually
the road and it is marked no parking (and we saw MANY tickets get issued).
Be cautious when hiking along the road under the freeway and past the
exit ramps. Once you get past the ticketed cars turn right (where the
people in blue are in this image).
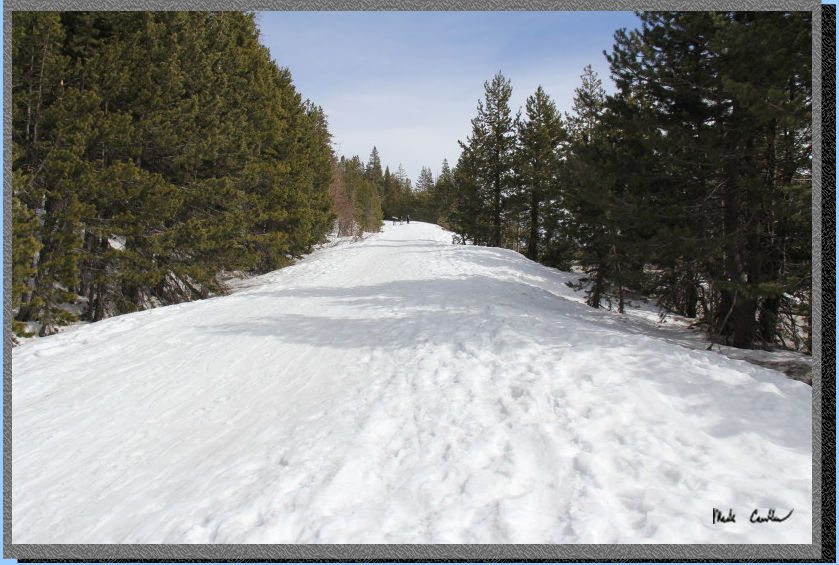
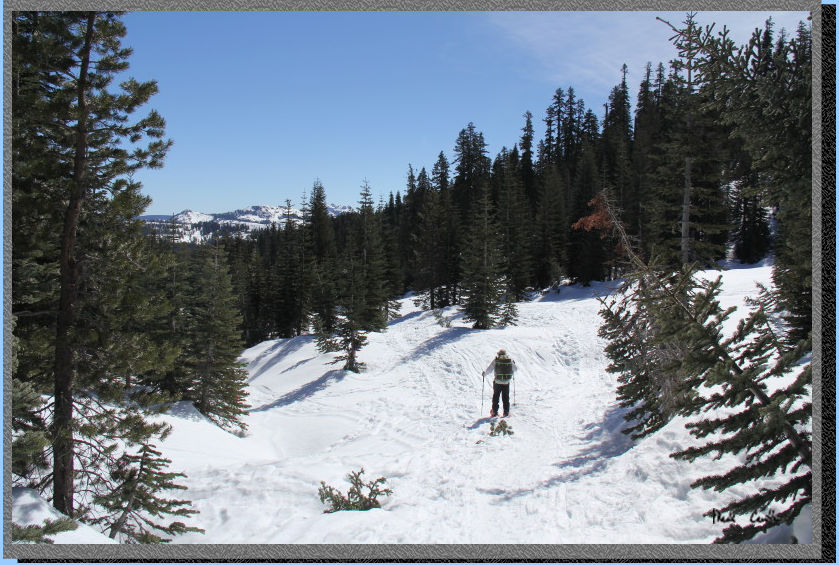
The trail starts going gently
up almost immediately. We tried to see how long we could go without
strapping on the snow shoes. We made it about 100 feet before we both
decided that snow shoes would be better than sinking in the warming
snow. It was very warm that day, for Donner Summit anyway.
We were excited to see as much snow as we did. The forecast was a pretty
mild night and no real weather predicted.
Here is your first junction.
You want to stay right/straight (not left) here. It was around this
point that I discovered that a couple of my rubber snowshoe straps had
reached the end of their lives. I tried to use my remaining rubber straps
and a Velcro strap on one shoe (thanks Leo!). I had a very big and very
friendly dog come a lick my face when Leo and I were working on the
worst snowshoe. It turns out that getting licked while precariously
balancing with a heavy backpack on a broken snowshoe makes you fall
backwards into the snow. It also give you the opportunity to stress
test the one "good" snowshoe. As it turns out we needed to
fix both snowshoes now (it failed the dog-lick fall stress test). After
the quick repair we were headed again down the trail (technically up).
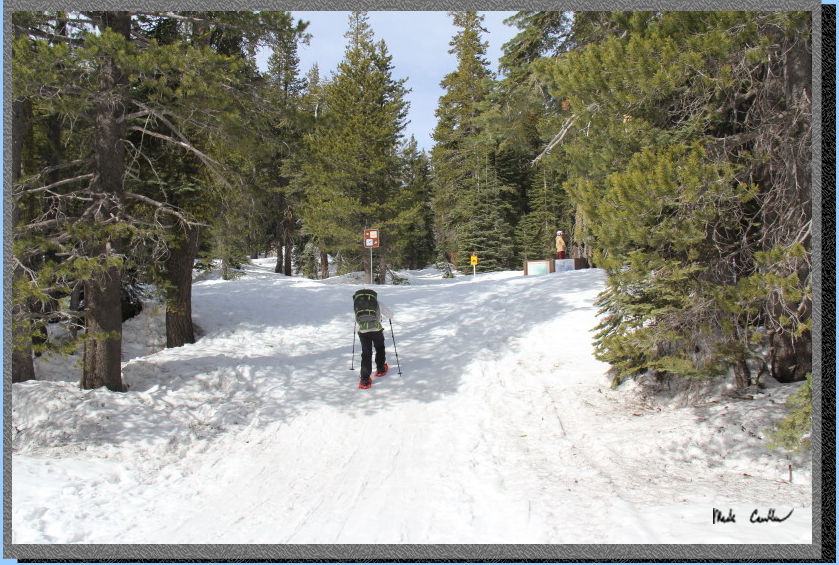
So this is a very important shot. If you look in the tree you will see
two arrows pointing to the right. If you want to go the quickest (and
likely safest route to the Peter Grub Hut) hang a left here. We surveyed
the map and thought we could just hike through the meadow and then up
and over the ridge in the distance without too much trouble. The hut
is on the other side of that ridge in the distance.

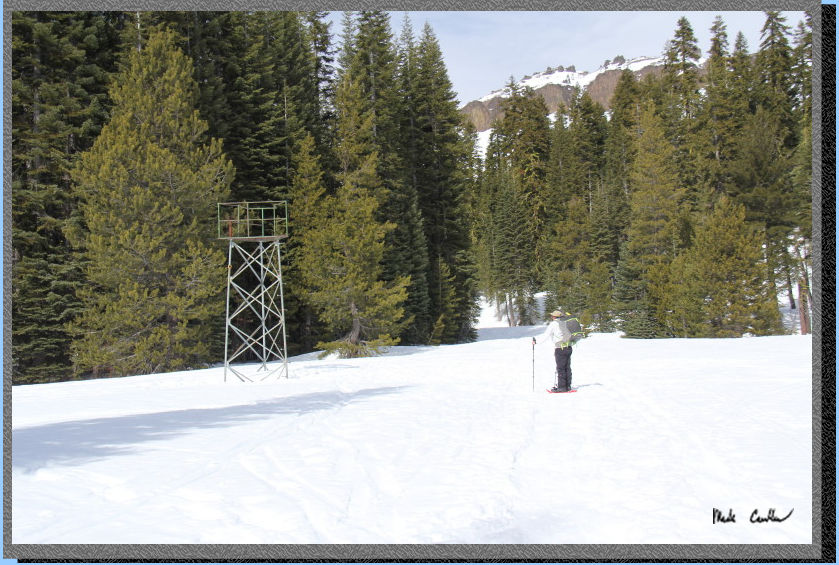
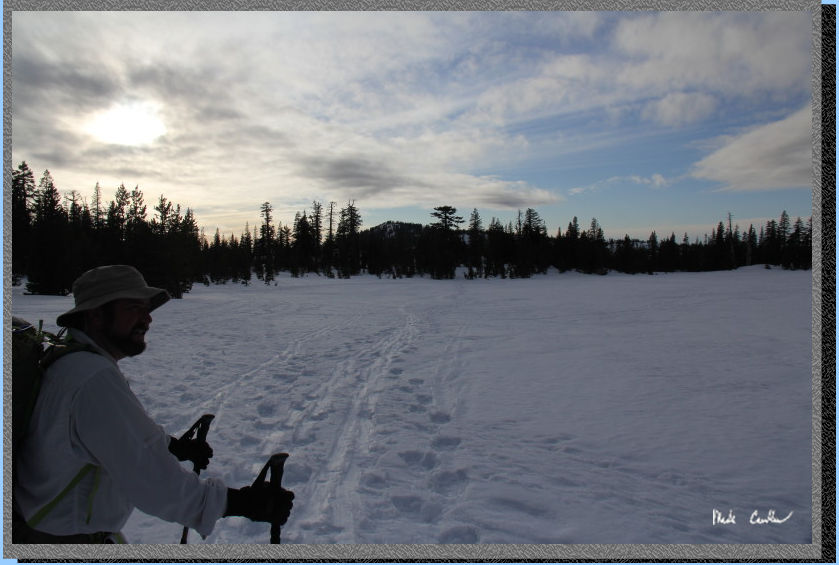
We hiked through the meadow
and past whatever tower contraption this is/was without much trouble.
The weather was great and the trail had some cross country skiers and
a couple snowshoers, but really not that crowded once you got out a
ways from the trailhead. We had a really nice conversation with our
"Swiss Connection", that is what we referred to a nice guy
from Switzerland we chatted with as he passed us. It turns out we are
not "typical" Americans, as we were dressed appropriately
for winter and had the correct gear for winter camping.
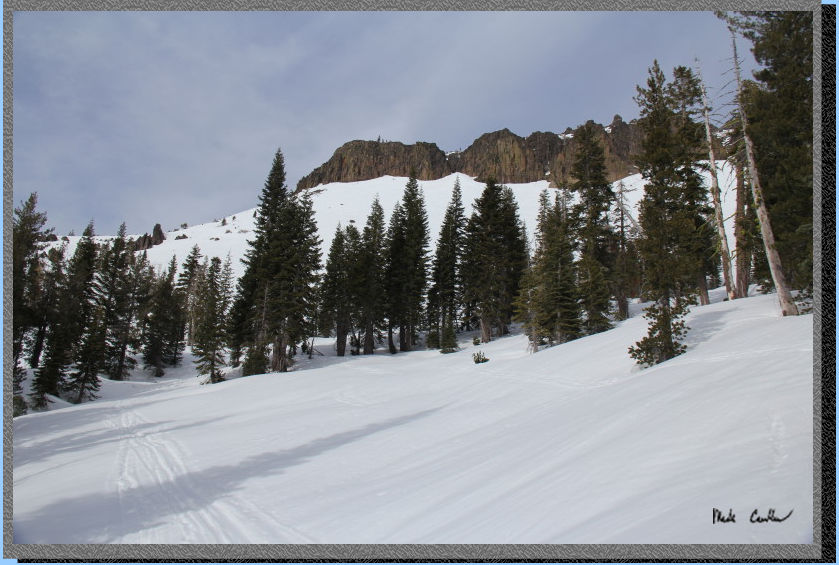
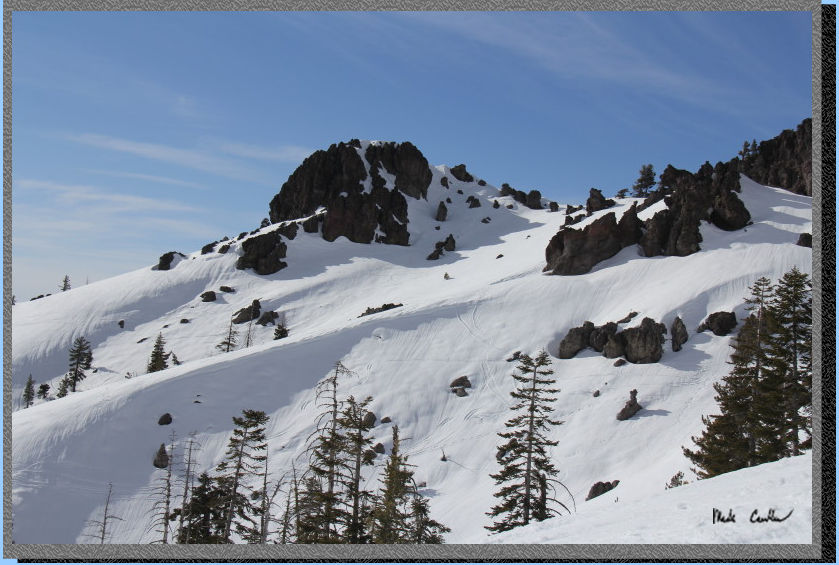
It was about this point that
we realized that hiking up and over the ridge could be a little more
difficult that originally thought. There are some especially steep,
exposed sections that we tried to avoid and that put us higher on the
ridge than we wanted to be. You can see in the shot below of Castle
Peak that the section past the trees was going to be tricky. We saw
some skiers coming down the slopes, probably wondering why we were headed
up that way.
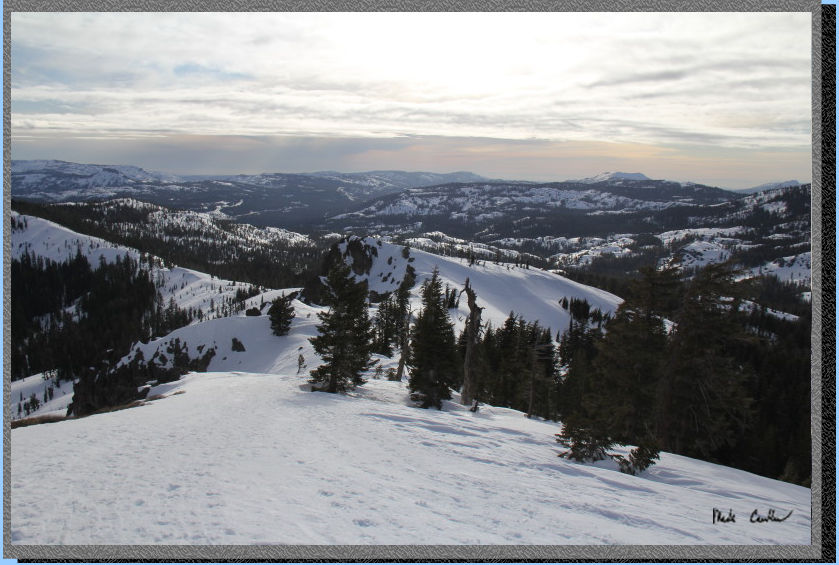
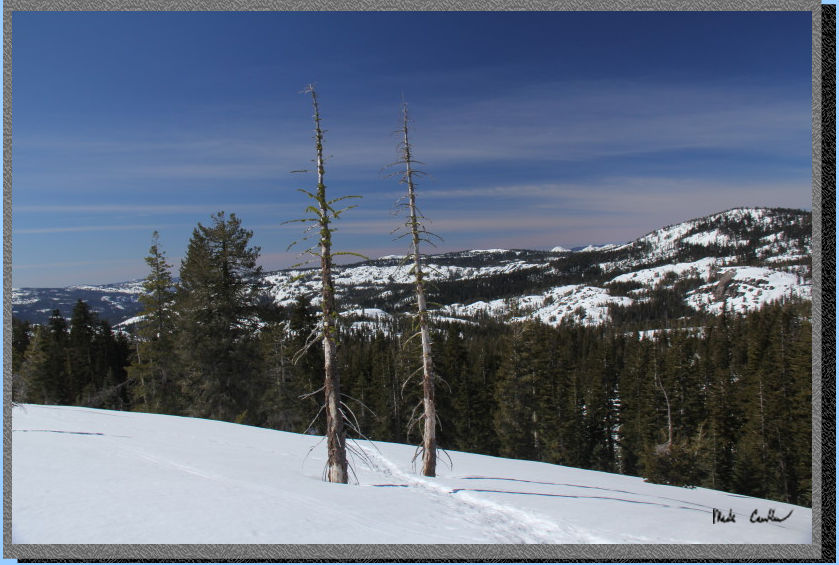
The benefit of hiking so
close to Castle Peak was the amazing views.
See, totally worth it Leo.
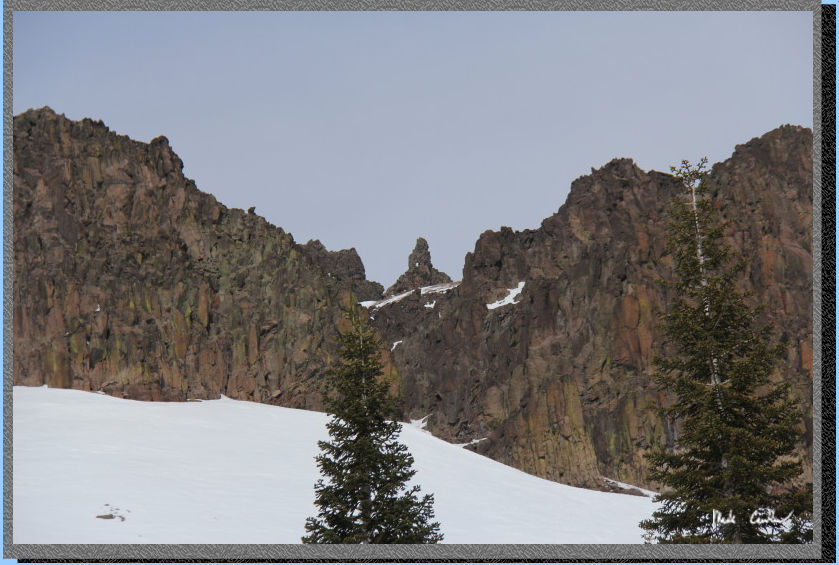
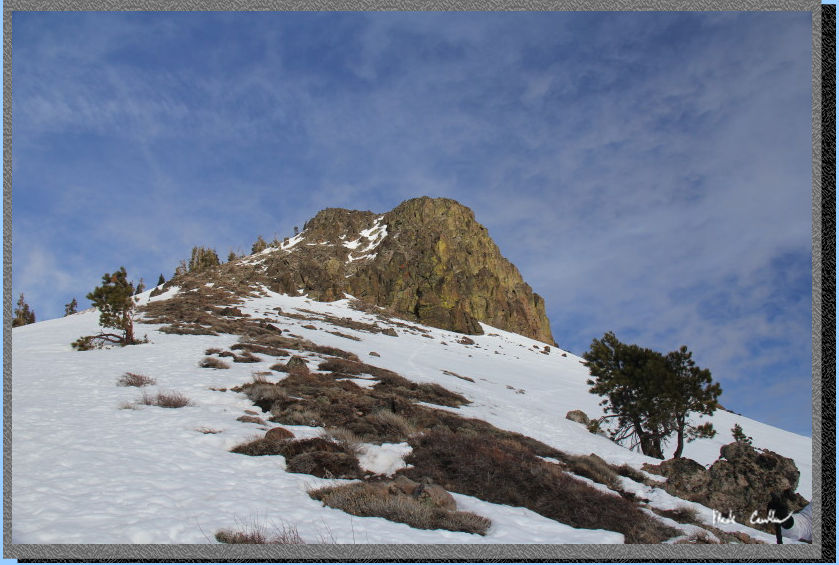
This was the next option
to our west, not really an option to climb up through there. It was
great to take a picture of though.
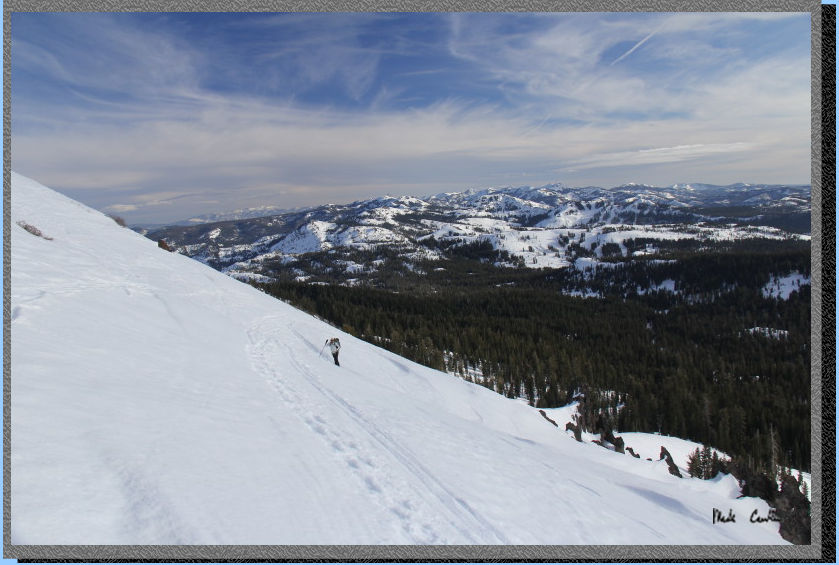
Here is a shot of Leo, taking
his time to have good footing on each step. This section looks steep,
because it is. This section is also the reason why this route should
not be used. A slip in this section would send you sliding into rocks
and potentially hundreds of feet down the side of the mountain.
And who wants to have to hike back up this slope a second time :-) We
took our time to kick steps into the snow, took breaks to make sure
we had stable legs, and to take pictures like the one below.
We reached the top of the
ridge after what seemed like a very long hike uphill. Nothing but down
to Round Valley and the hut now. You can see that we did not have a
lot of extra daylight to make it to the hut. We had about an hour before
things were going to start to get darker.
We booked it down the ridge
and across the meadow to to the hut. My snowshoes had nothing left to
give (the rubber straps were literally coming apart now). It turns out
that you only need to have a good back strap and one good toe strap
to have functional snow shoes. I figured I would work on a more permanent
repair later, at the hut.
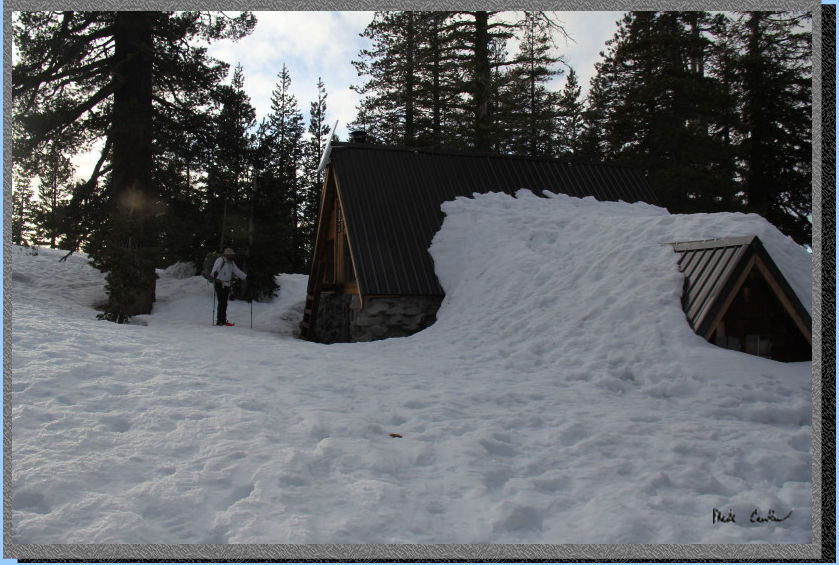
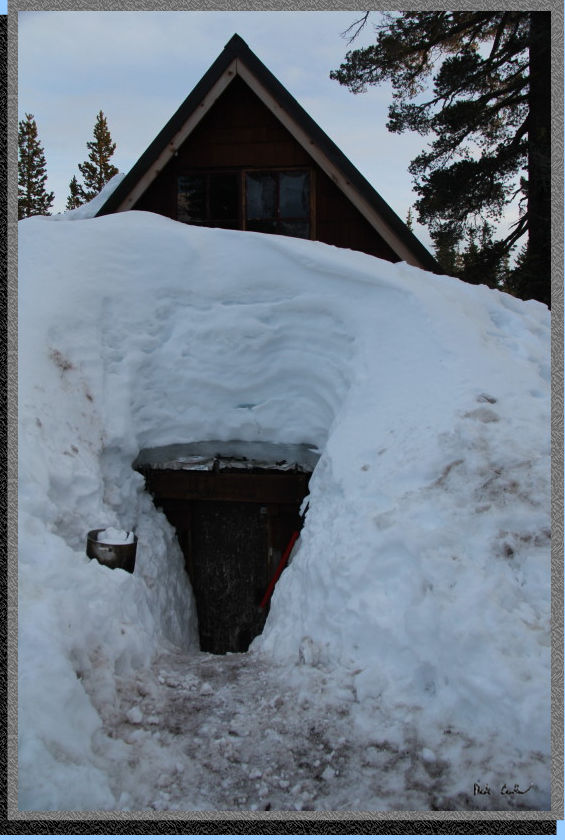
Here we are at the hut. This
a a two-story cabin with you entering on the top floor when the snow
is high enough. Leo is next to the ladder to the second floor sleeping
loft. The area in the front is a wood shed (accessible on the inside
only, right now).
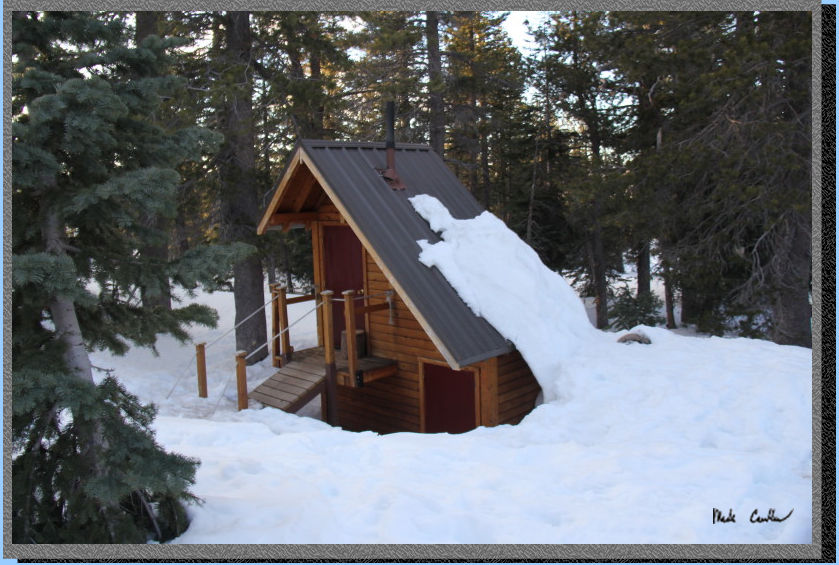
Here is the outhouse that
is behind the hut. Yes this is a two-story outhouse. It has solar lighting
as well so you can see what you are doing.
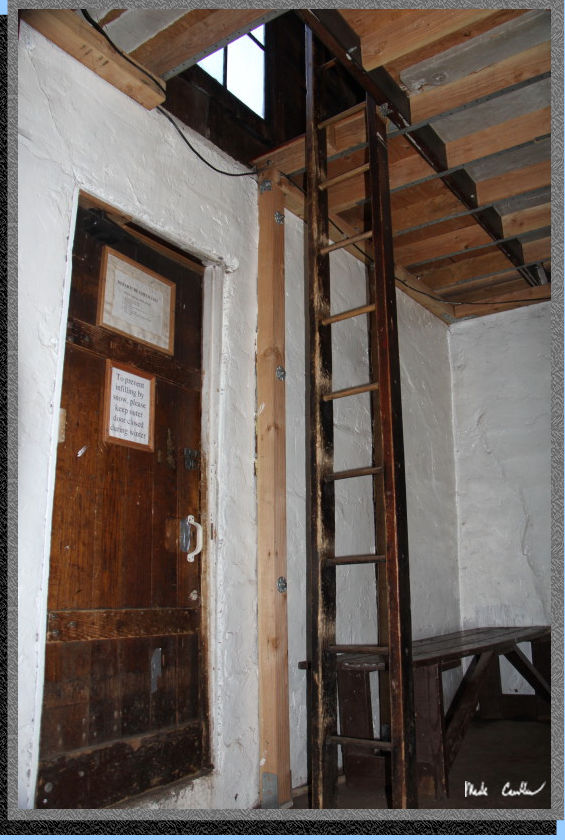
Here is the front door to
the hut. You can see some kind soul decided to dig out the front door.
You can also see our giant pot of snow. We used one of the bigger pots
at the hut to melt snow on the wood burning stove. We later boiled the
water we needed to purify it with my old whisperlite white gas stove
(still going strong). Don't tell my old stove that I use a Jetboil for
everything except snow camping.
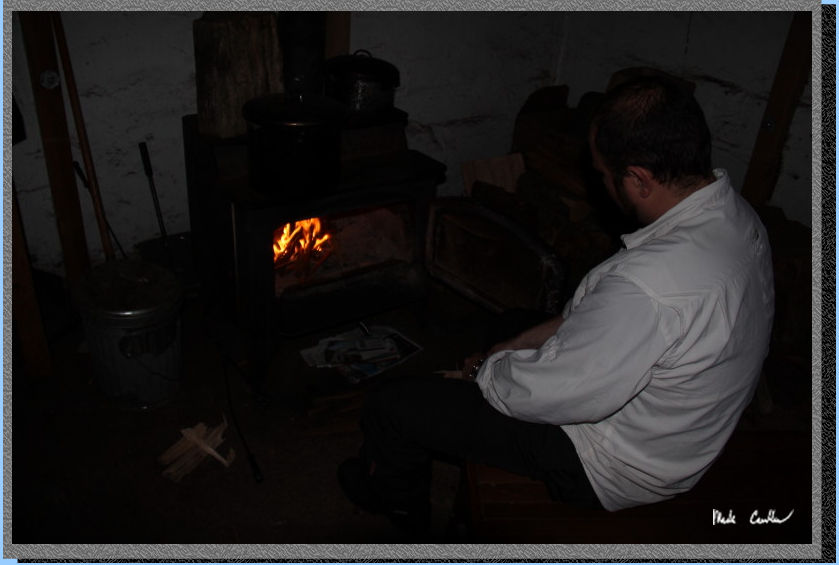
Here is Leo keeping the stove
going. There are some directions on the wall on how to run the stove
efficiently. We found that the damper was not installed anymore, we
reinstalled it too late in the evening to see if that would have got
the stove hot enough to boil water.
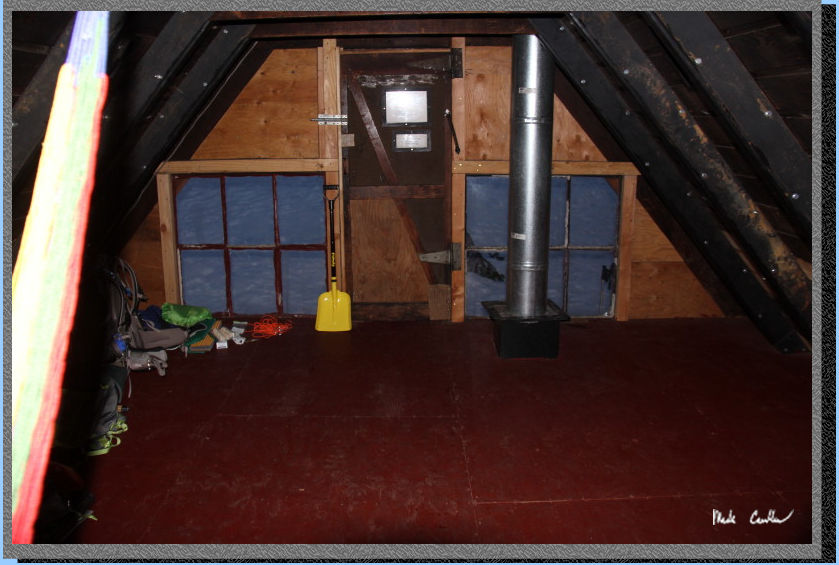
This is the second story
sleeping loft, looking toward the second story entrance. The stove chimney
is the big metal pipe.
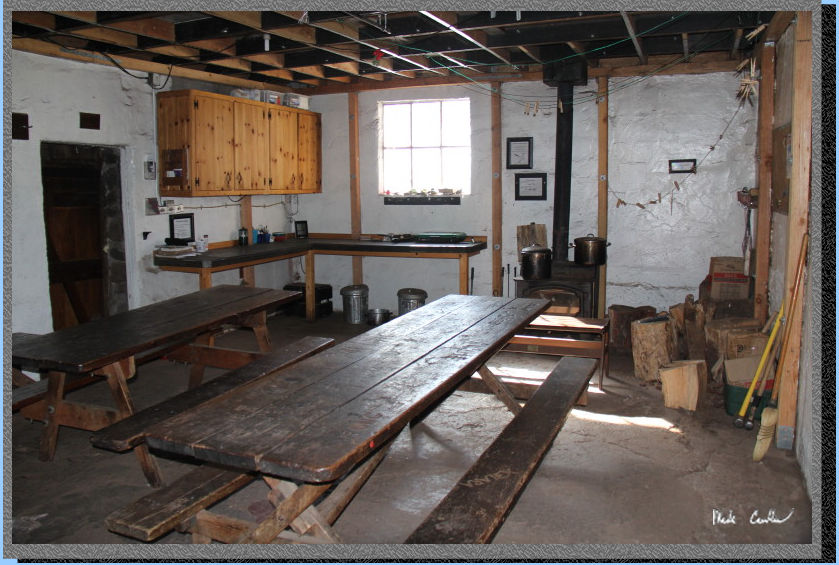
Here is the downstairs in the morning. You can see the whole setup here.
The door on the the left is to the wood storage area. The front door
is behind us. There were an assortment of things left behind by previous
campers. This place was awesome to camp in and we were lucky enough
to have it to ourselves. We made sure to give it some TLC and leave
it cleaner than we found it (which was pretty darn clean when we showed
up). There are directions on what to lock up when you leave.
This is the front door and the indoor way to the sleeping loft. After
carrying things up and down the ladder I see why someone invented stairs...
We headed out the next morning
after neatly packing up. I say neatly because we are usually packing
up in the cold and snow. At the hut we had the ability to lay out gear
and packup inside, utterly ridiculous. I honestly got turned around
a little on the way out. I had it in my head that the peak we wanted
to aim for was the one to the west instead of to the south. Classic
case of making the map conform to what I believed were the conditions.
Should I have spent a few minutes to properly orient my crude map (or
use my gps) it would have saved us some mileage that day. It was nice
to tromp around some fresh powder though. 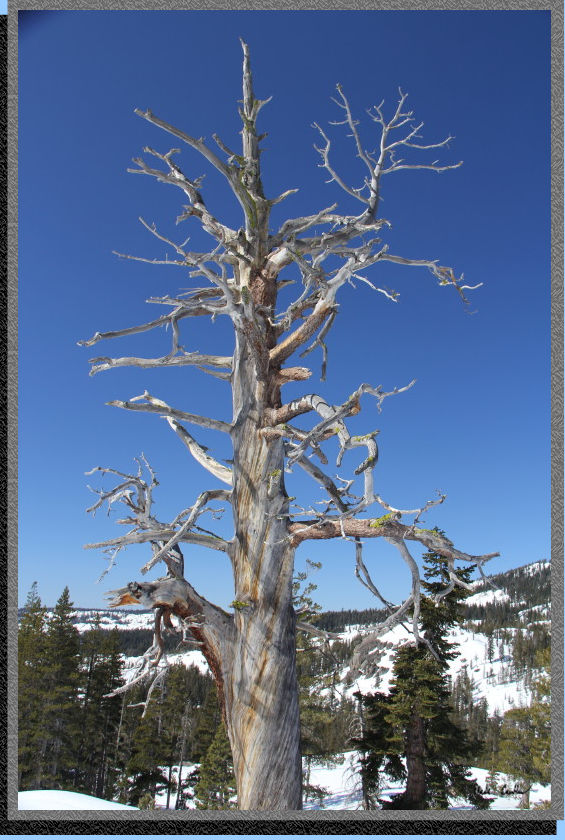
After I came to realize the error I had made, we turned course toward
Castle Pass to get on the correct path. We thought about continuing
around Andesite Peak, but decided that yesterday's off-trail adventures
were enough for one trip. It was a little breezier today but still a
great day to be tromping around in the snow. There was basically no
one on the trails either.
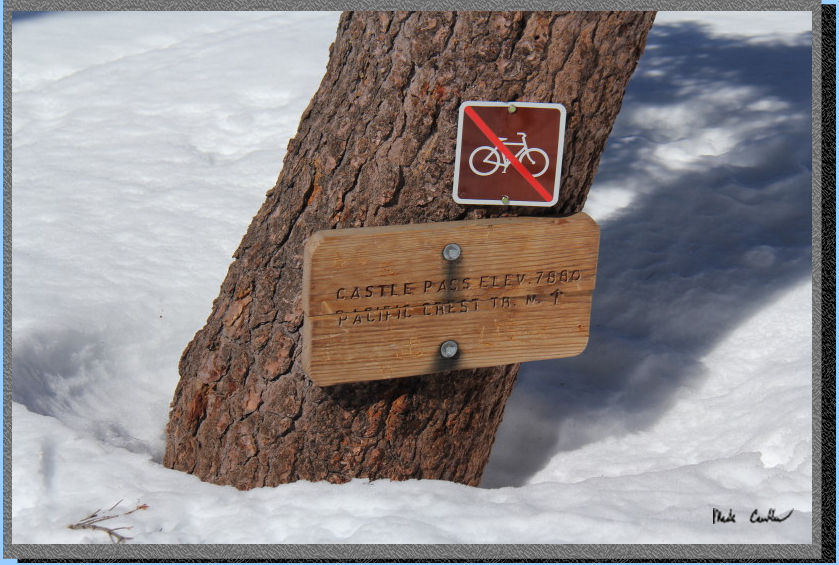
Here is the sign at Castle Pass, very low to the ground though for a
sign :-)
Following the trail down
to Castle Valley wasn't nearly as exciting as our adventure the day
before, but we both agreed this was the way we will go when we return
to the Peter Grub Hut next time. I think hiking efficiently to the hut
would allow some exploring of the Round Valley area. I will leave you
with some shots that were great but didn't work into my trip description
neatly. If you are into snow camping put this area on your to-do list.
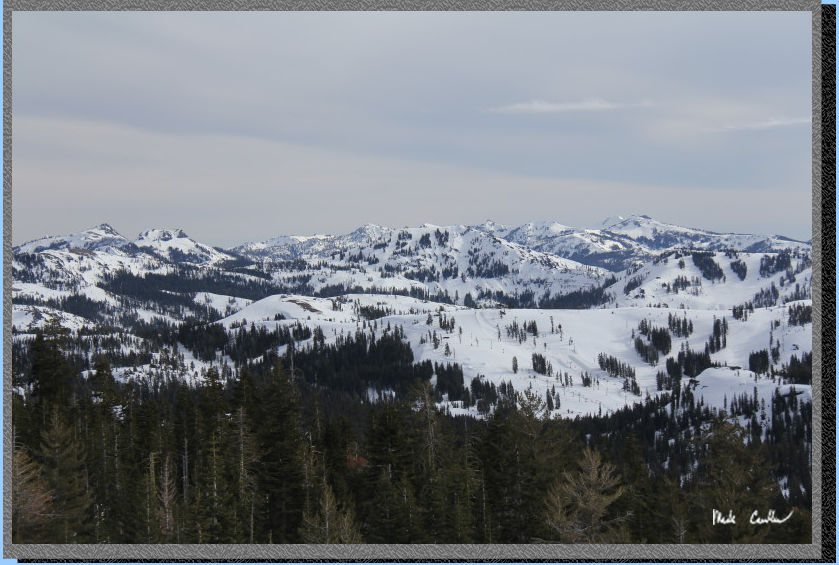
Castle Peak
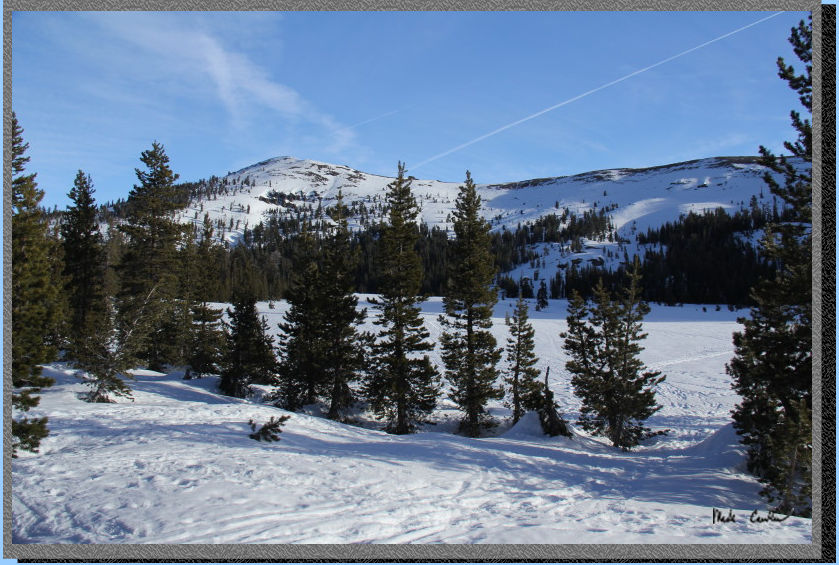
Round Valley with Basin Peak
in the distance.
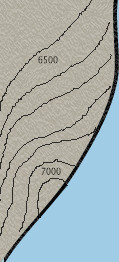
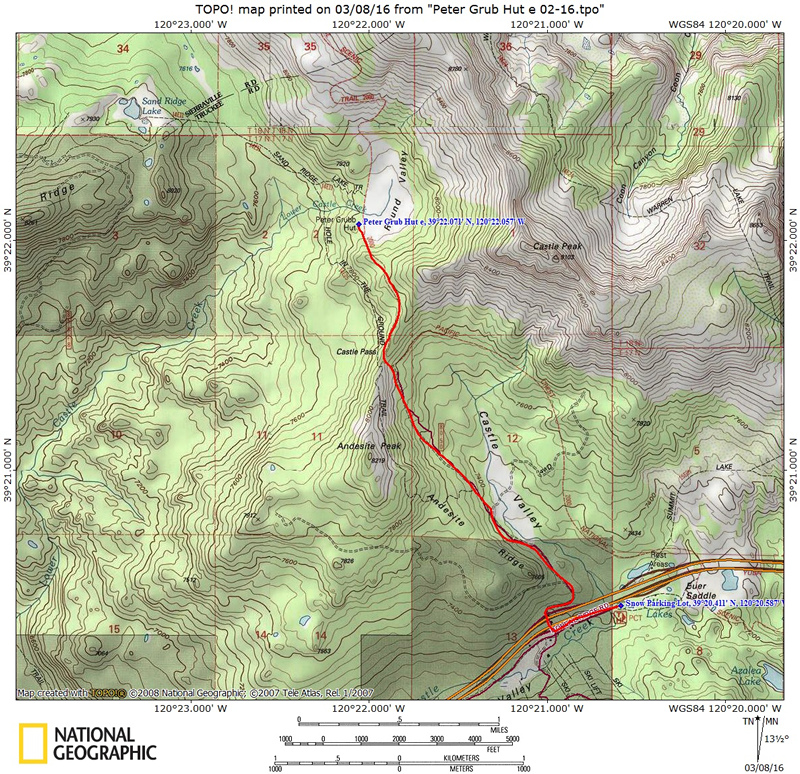
Red line shows the path we
should have taken from the car at the Donner SnoPark to Peter Grub Hut.
Scroll down for the path we took.. Click either for
a larger version.
(back to top)
Our route is show below. Blue line is the route in and the red line is the way out. Do not use either of these routes, but especially not the blue one. It crosses some seriously steep slopes that could be dangerous in the wrong conditions or without the right gear.
Profile on the way in:
(back to top)
Profile on the way out:
(back
to top)